Perfect Chocolate Chip Cookies from Cook’s Illustrated
Jump to the recipe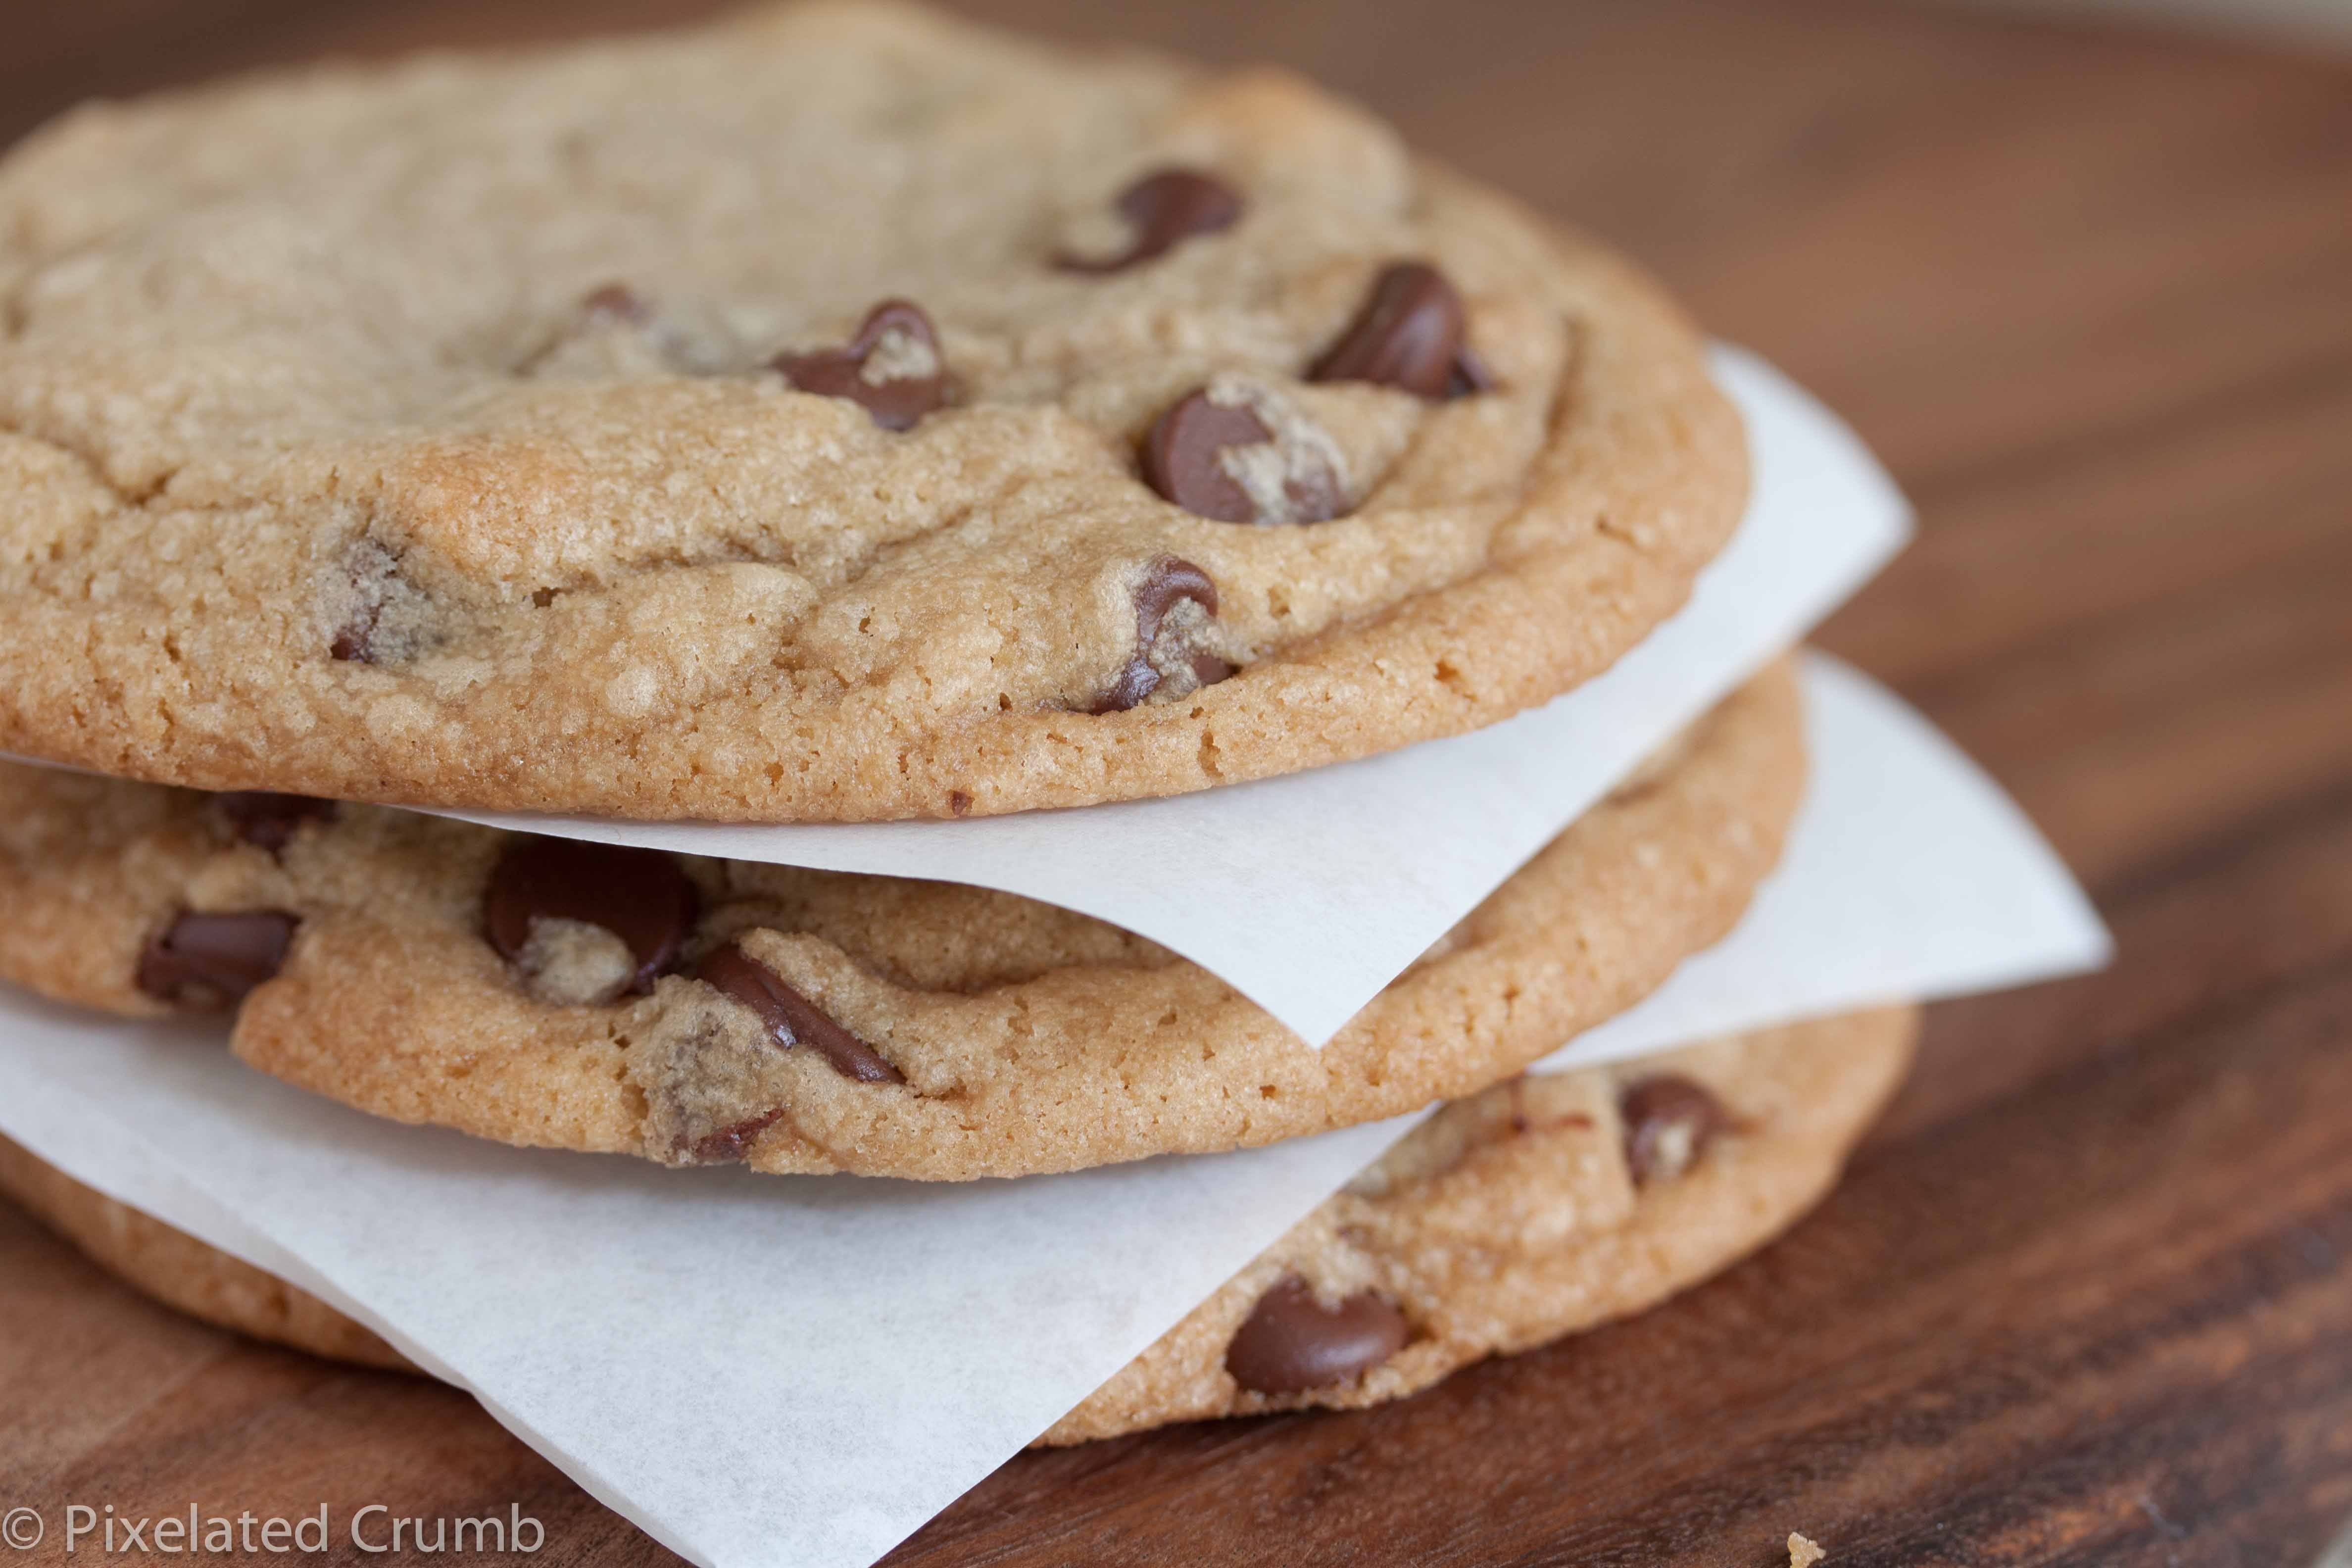
A few weeks ago my sister, Jessica, and I were talking on the phone when she asked me if I had any good chocolate chip cookie recipes. She was asking because she said she had tried several recipes and while they were good, they just didn’t really compare to the classic Nestle Toll House recipe. I can’t tell you how many times we made those cookies together as kids, but I’ve probably made them close to 100 times by now. The Toll House cookies and the apple pie I made every Thanksgiving were the most significant recipes of my childhood. But while I only made the apple pie once a year, the cookies we made whenever we wanted to bake, which was often.
As the younger sibling, I got stuck with the easy stuff: the dry ingredients. The wet ingredients always seemed so much more glamorous. Looking back, I’m not really sure what Jessica and I were doing, because those cookies seemed to take forever to make. I think we must have spent at least an hour making the dough, whereas I can now throw it together in about 10 minutes or less. So I really don’t understand what I was doing that took me so long, especially since my main task involved mixing flour, baking soda, and salt together. Perhaps it was because we were climbing on the counters trying to reach the ingredients and we had to stop to snack on the brown sugar and chocolate chips?
One of my most revolutionary moments in the kitchen as a child was when I made this recipe alone. I was feeling adventurous and decided to go and do something just crazy out there and go off the recipe. The audacity of it all! The secret ingredient? About a tablespoon of orange juice. I got rave reviews on the cookies and just knew that it had to be the orange juice. I flaunted my culinary genius, but refused to divulge my secret ingredient. The next time Jessica and I made the cookies together, I snuck the OJ out and ran across the kitchen to throw it in the bowl when she wasn’t looking. There was no way I was going to share the best cooking secret of the century! I was determined to take it to the grave. Unfortunately, Jessica didn’t seem to care, so I broke down pretty quickly and told her what it was. Over the years I finally stopped adding the juice because it didn’t actually seem to make any difference. But to the ten-year-old me, it was the greatest discovery since chocolate chip cookies themselves. To the adult me, it was the time I learned that recipes don’t have to be followed precisely and that some of the best food and the most fun in the kitchen come out of tweaking and playing around with recipes.
I was certainly up to Jessica’s challenge to find an even better recipe than the Toll House cookies. There are so many outstanding pastry chefs with their own chocolate chip cookie recipes, but just a few days after my conversation with my sister, America’s Test Kitchen announced the Boston Blogger Cookie Challenge challenging Boston bloggers to blog about their chocolate chip cookies. What a perfect place to start!
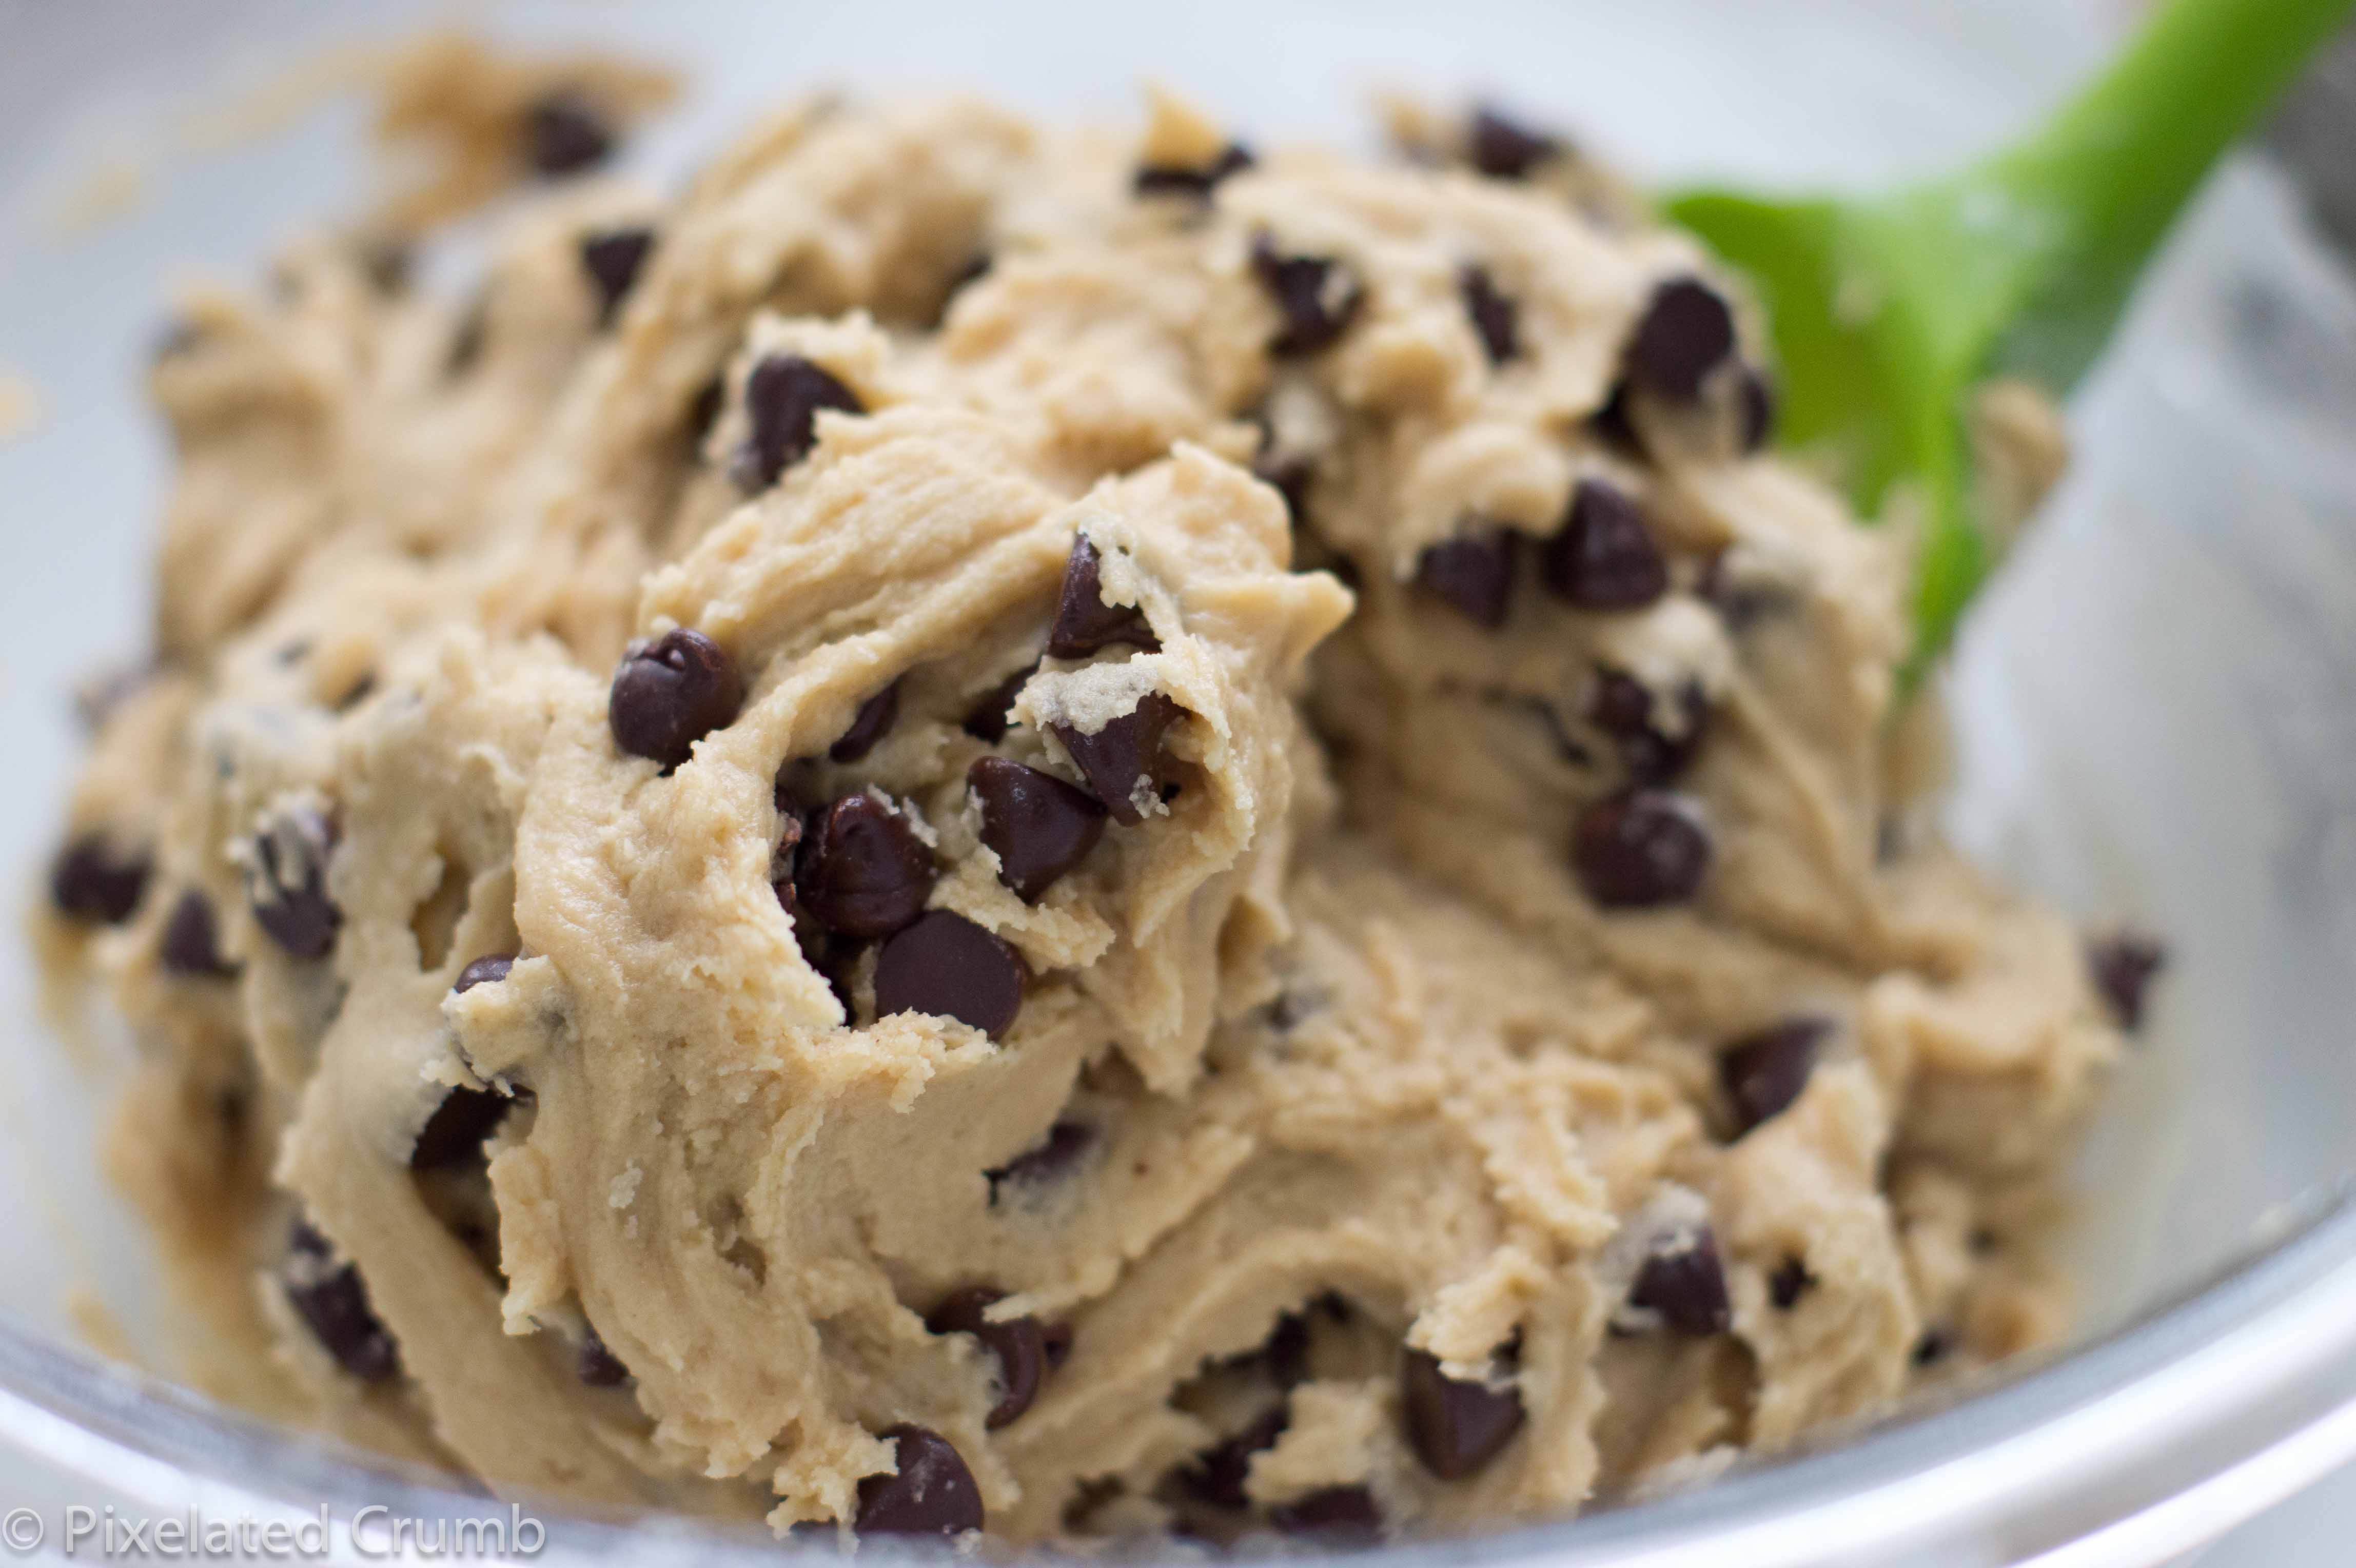
Adding OJ to my cookies was a revolutionary moment where I realized that I could tweak recipes, and America’s Test Kitchen does just that, but to the 10th degree. They make a gazillion versions of the same recipe to try to come out with the perfect one – and one that is perfect every time you try it. I’m kind of obsessed with Cook’s Illustrated and America’s Test Kitchen. Joseph and I subscribe to the magazine, we have an online subscription, and we TiVo all of the America’s Test Kitchen shows on PBS. They’ve just never, ever steered us wrong. I’ve also learned more about food and cooking from them than I have from any other source, but even more than that, they’ve given me some of my favorite recipes such as their cream scones, the amazing double chocolate brownies (the recipe to end all brownie recipes), and especially the Thai basil chicken dish. There wasn’t a doubt in my mind that it wouldn’t be an extraordinary cookie. One look at the recipe revealed that it begins with browning butter. Yes, please!
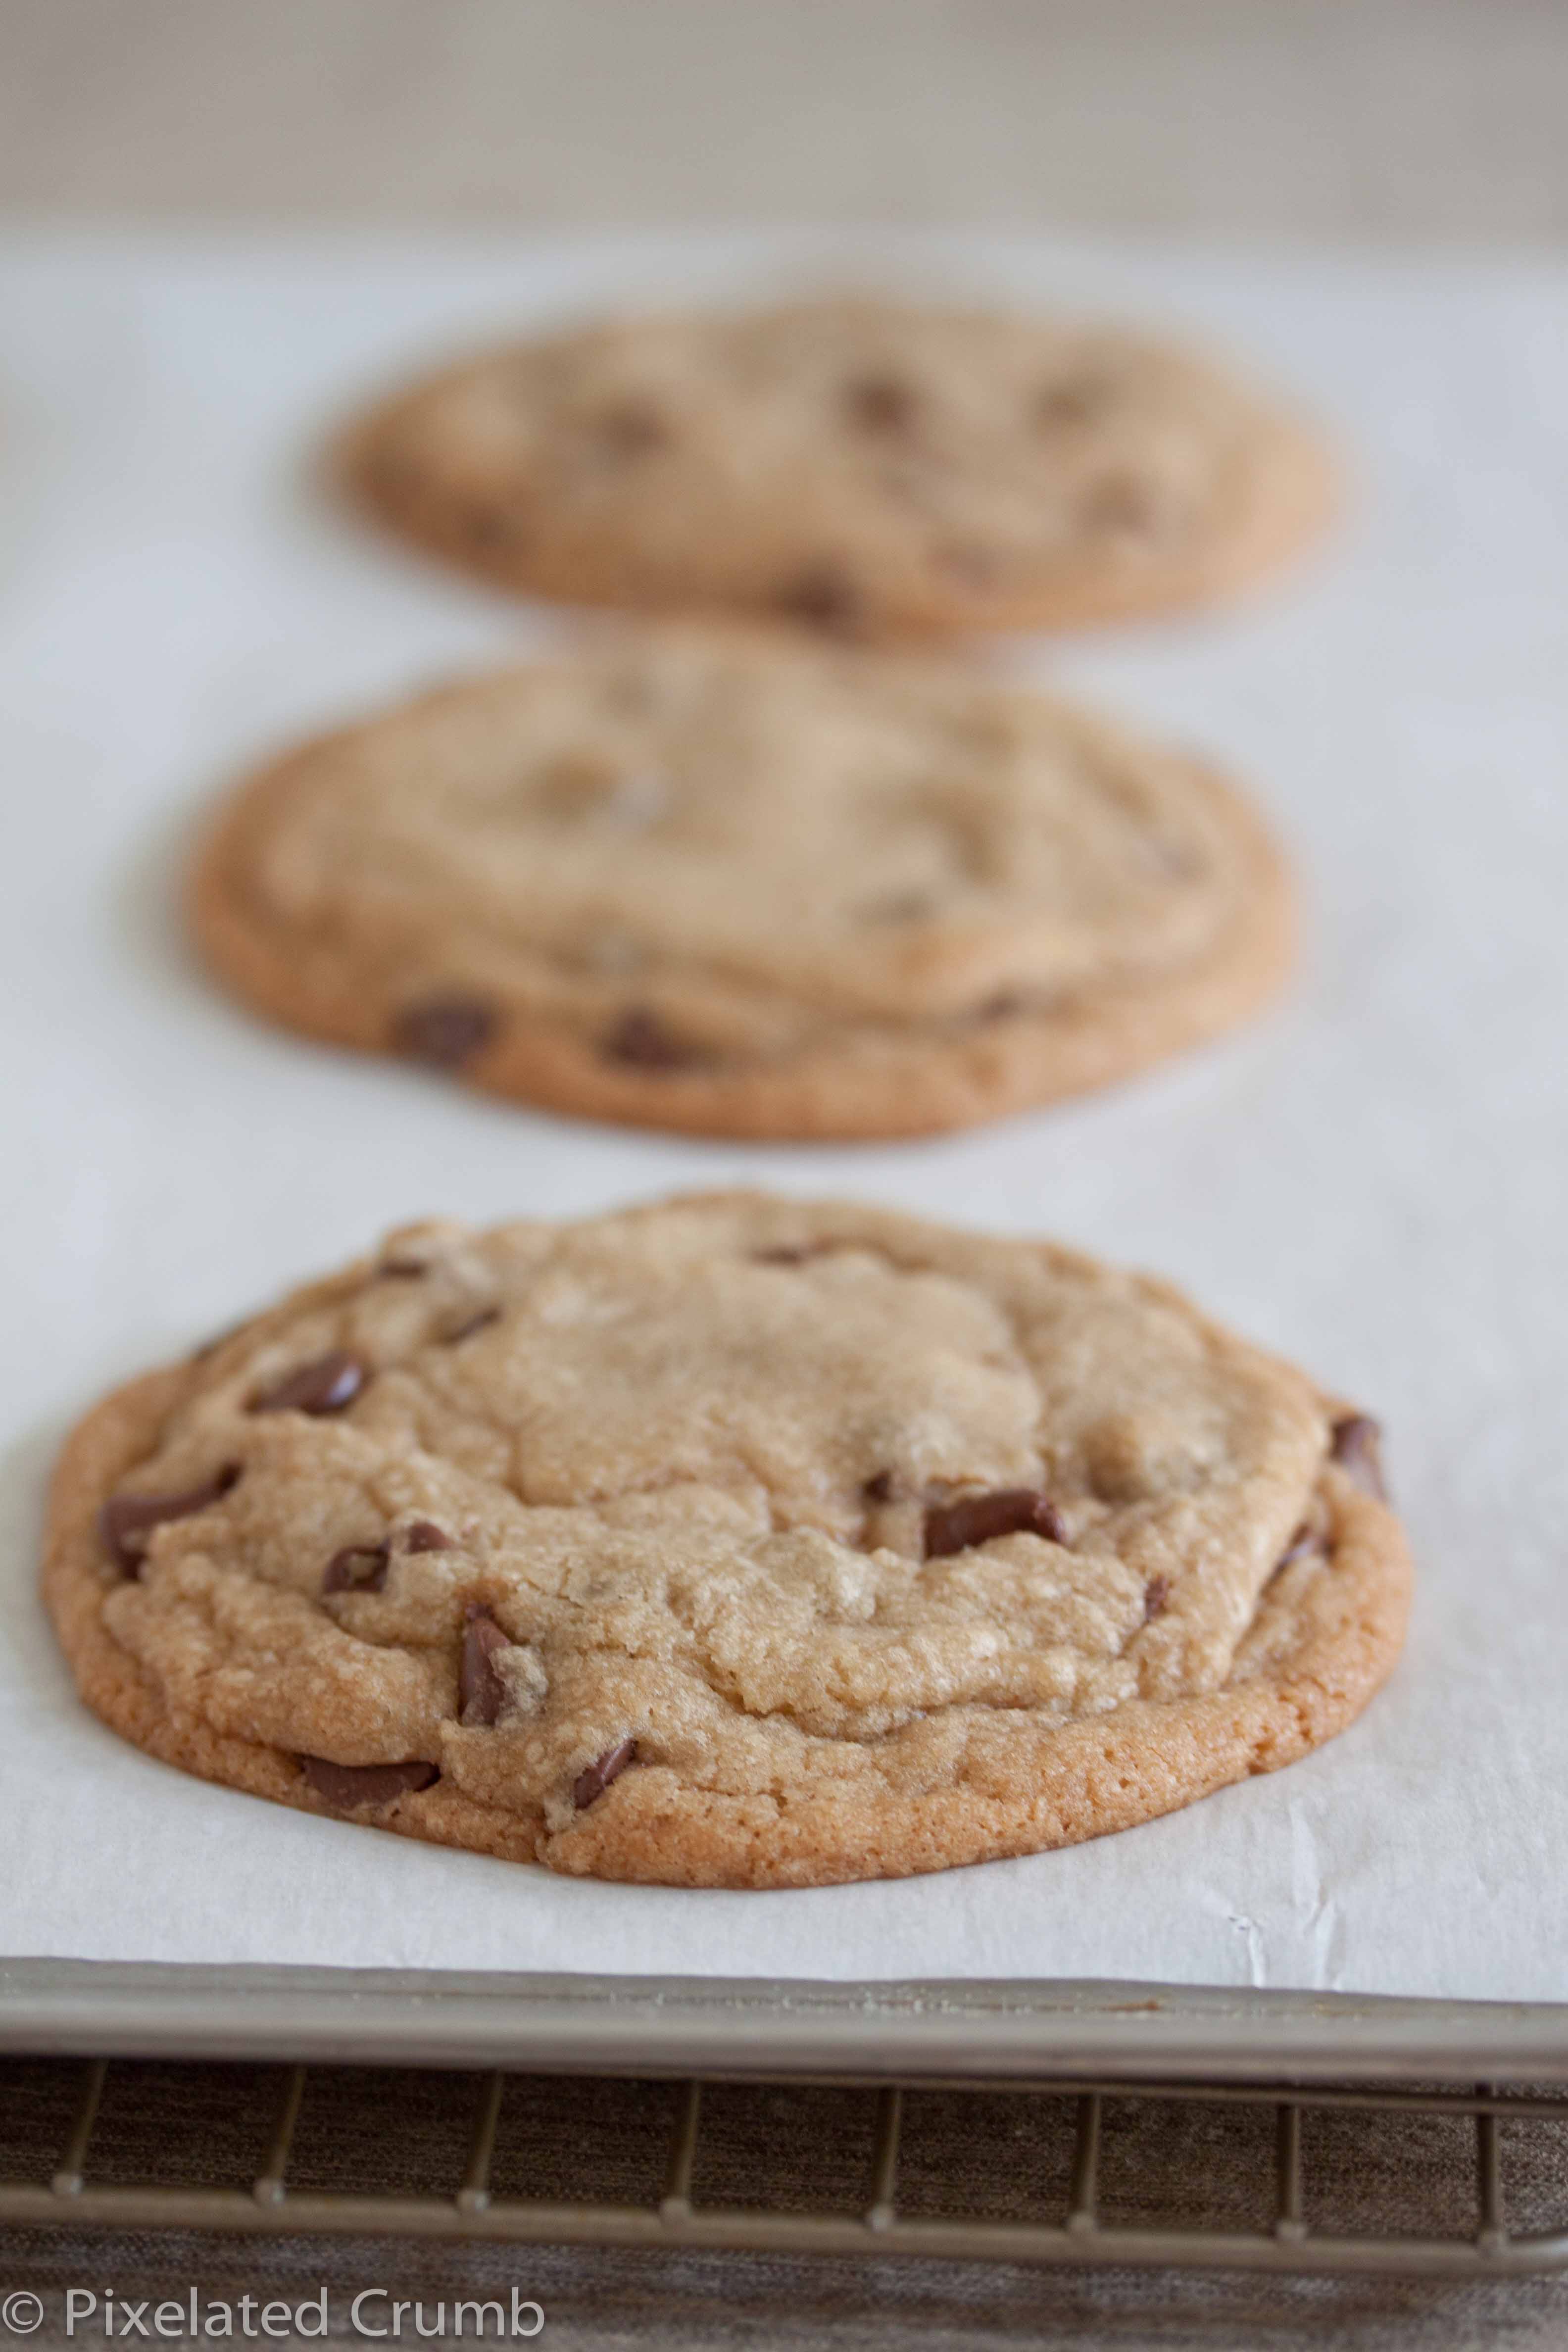
I decided that if I was really going to determine if this was a better recipe than the Toll House cookies, I would have to make both. I began with the Cook’s Illustrated recipe. It does take a little bit longer than the Toll House cookies because you have to brown the butter and there are some resting periods where you pause to let the sugar dissolve into the cookie dough (this is an excellent time to snack on brown sugar and chocolate chips as I did when I was a kid). There are some ingredient changes including a higher brown sugar to white sugar ratio and one egg and one yolk instead of 2 eggs, but one of the biggest differences is, well, big: the Cook’s Illustrated cookies are 3 times the size of the Toll House cookies! The larger size allows for more variation in texture because you get a nice chewy cookie center and crisp crunch on the edges. My cookies may have been even larger because I somehow ended up with only 12 cookies when the recipe is supposed to make 16. Or maybe it’s just because I didn’t add nuts. Oh well, no complaints here!
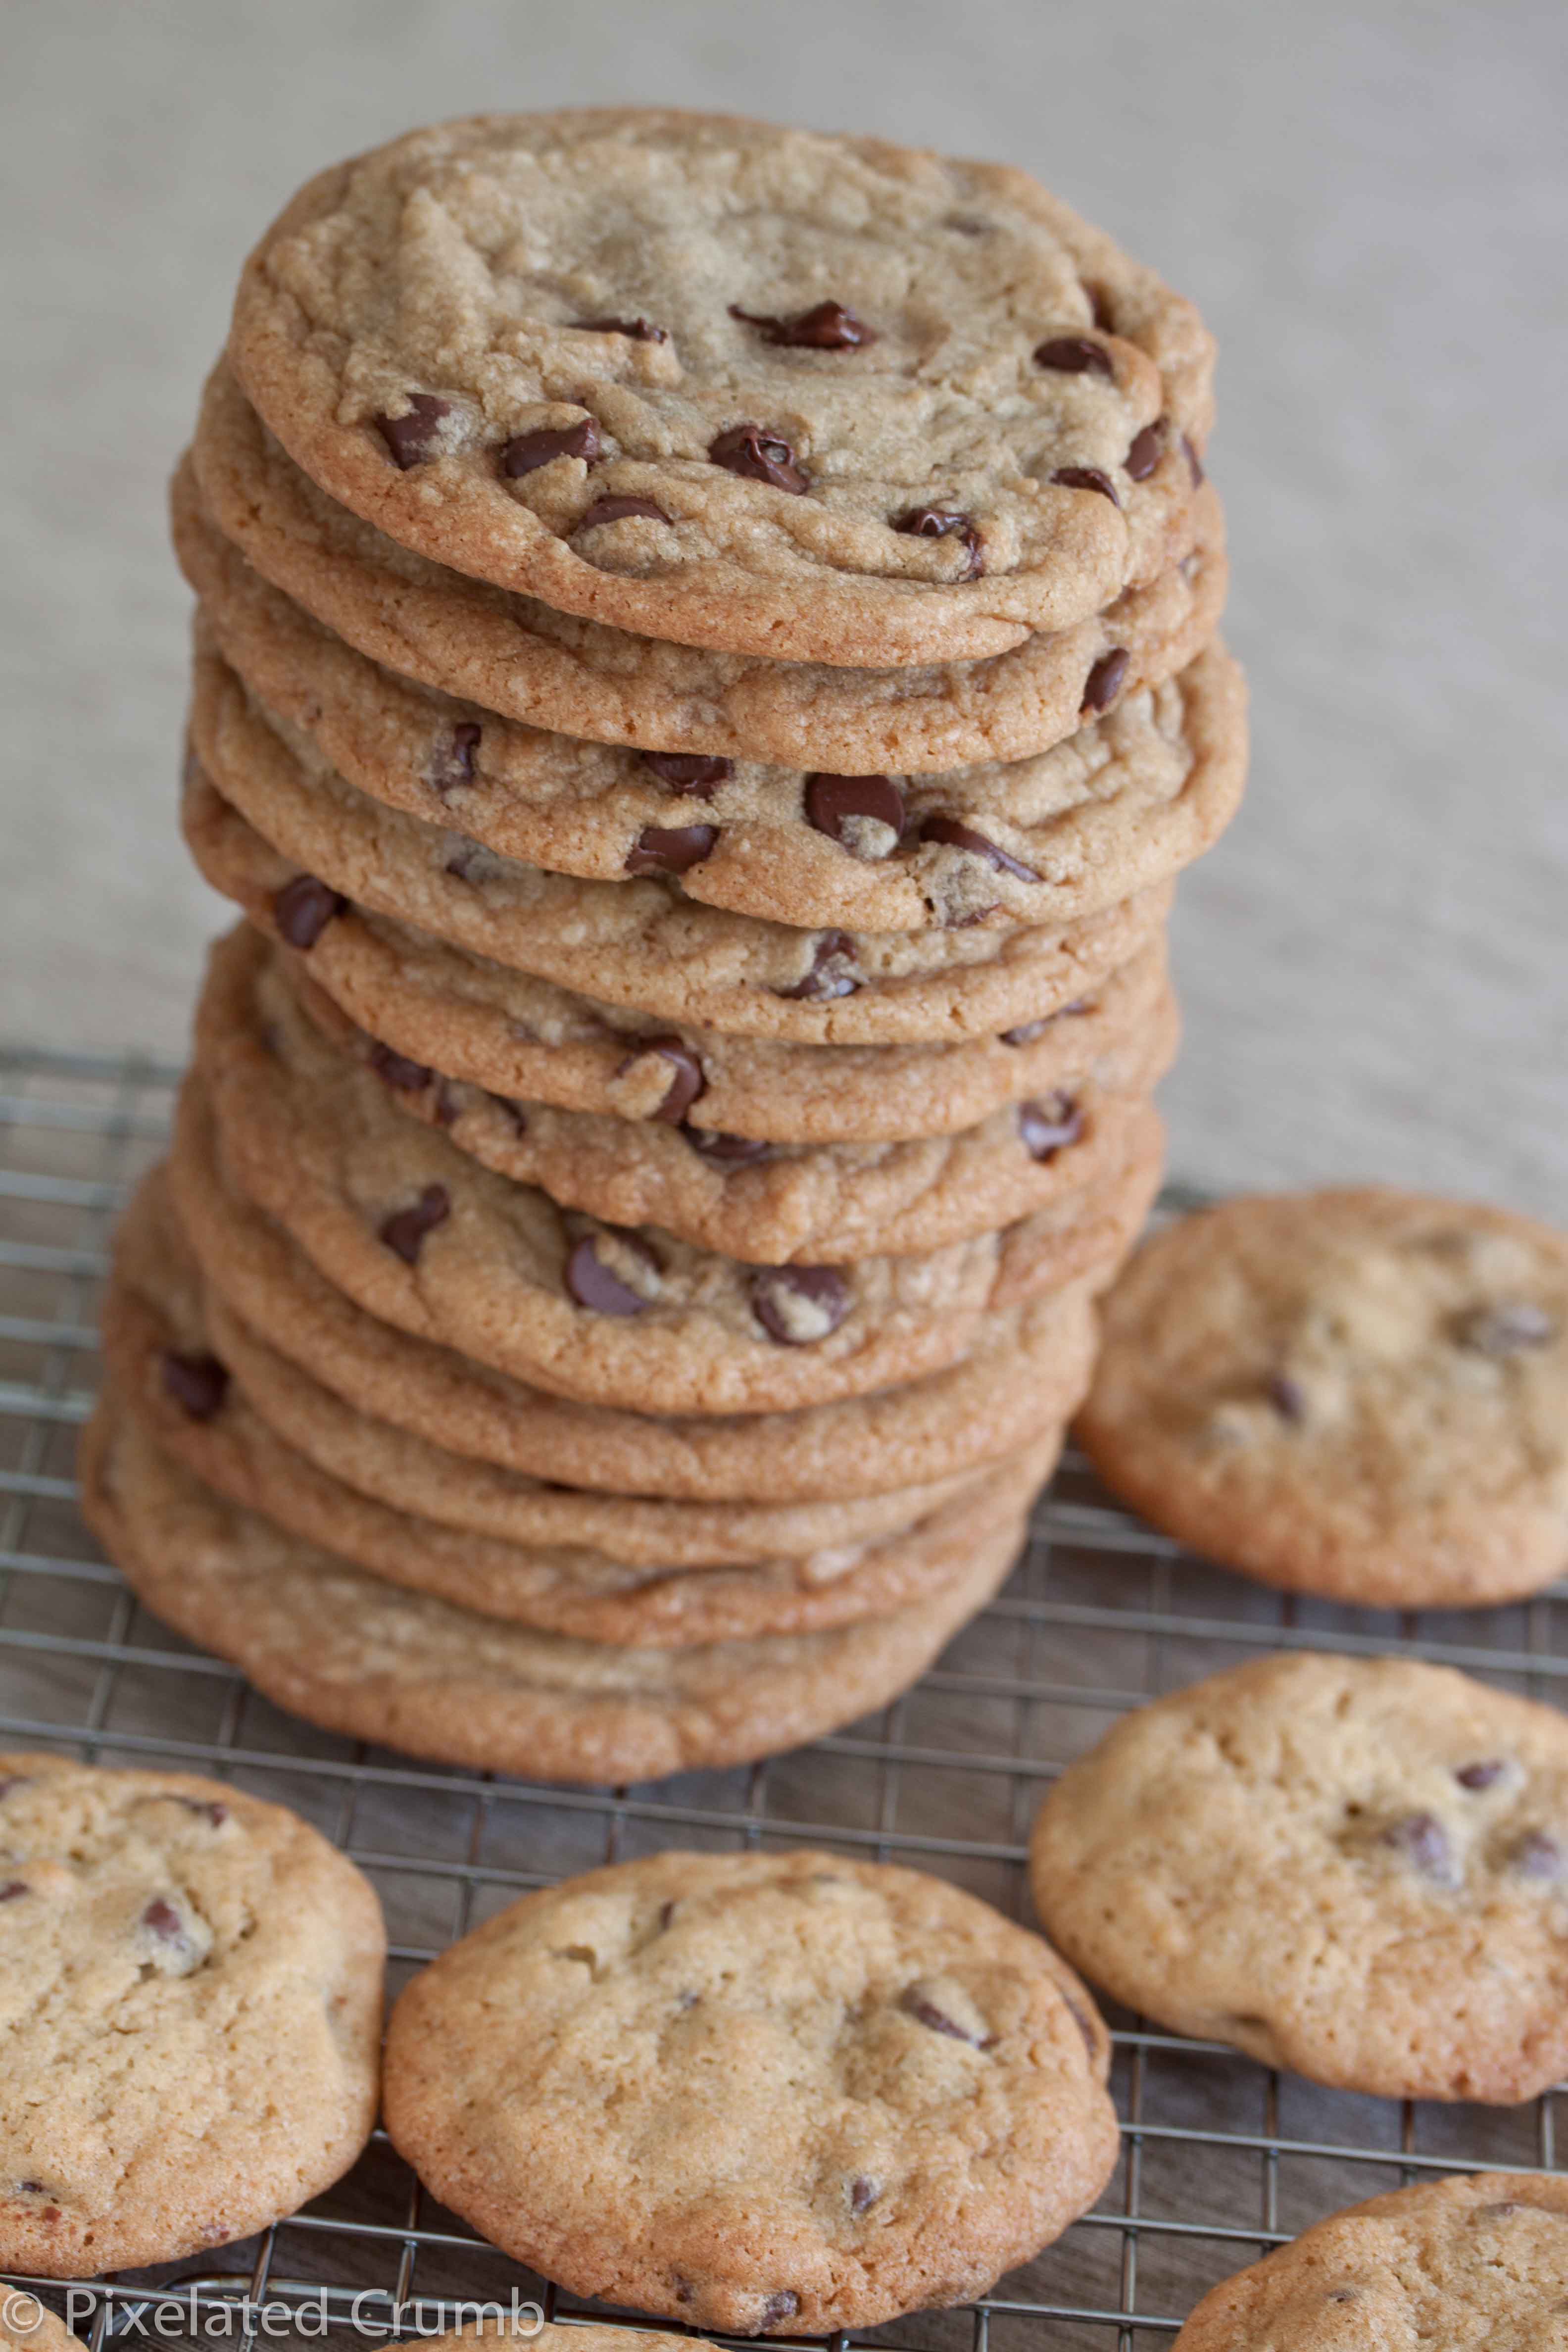
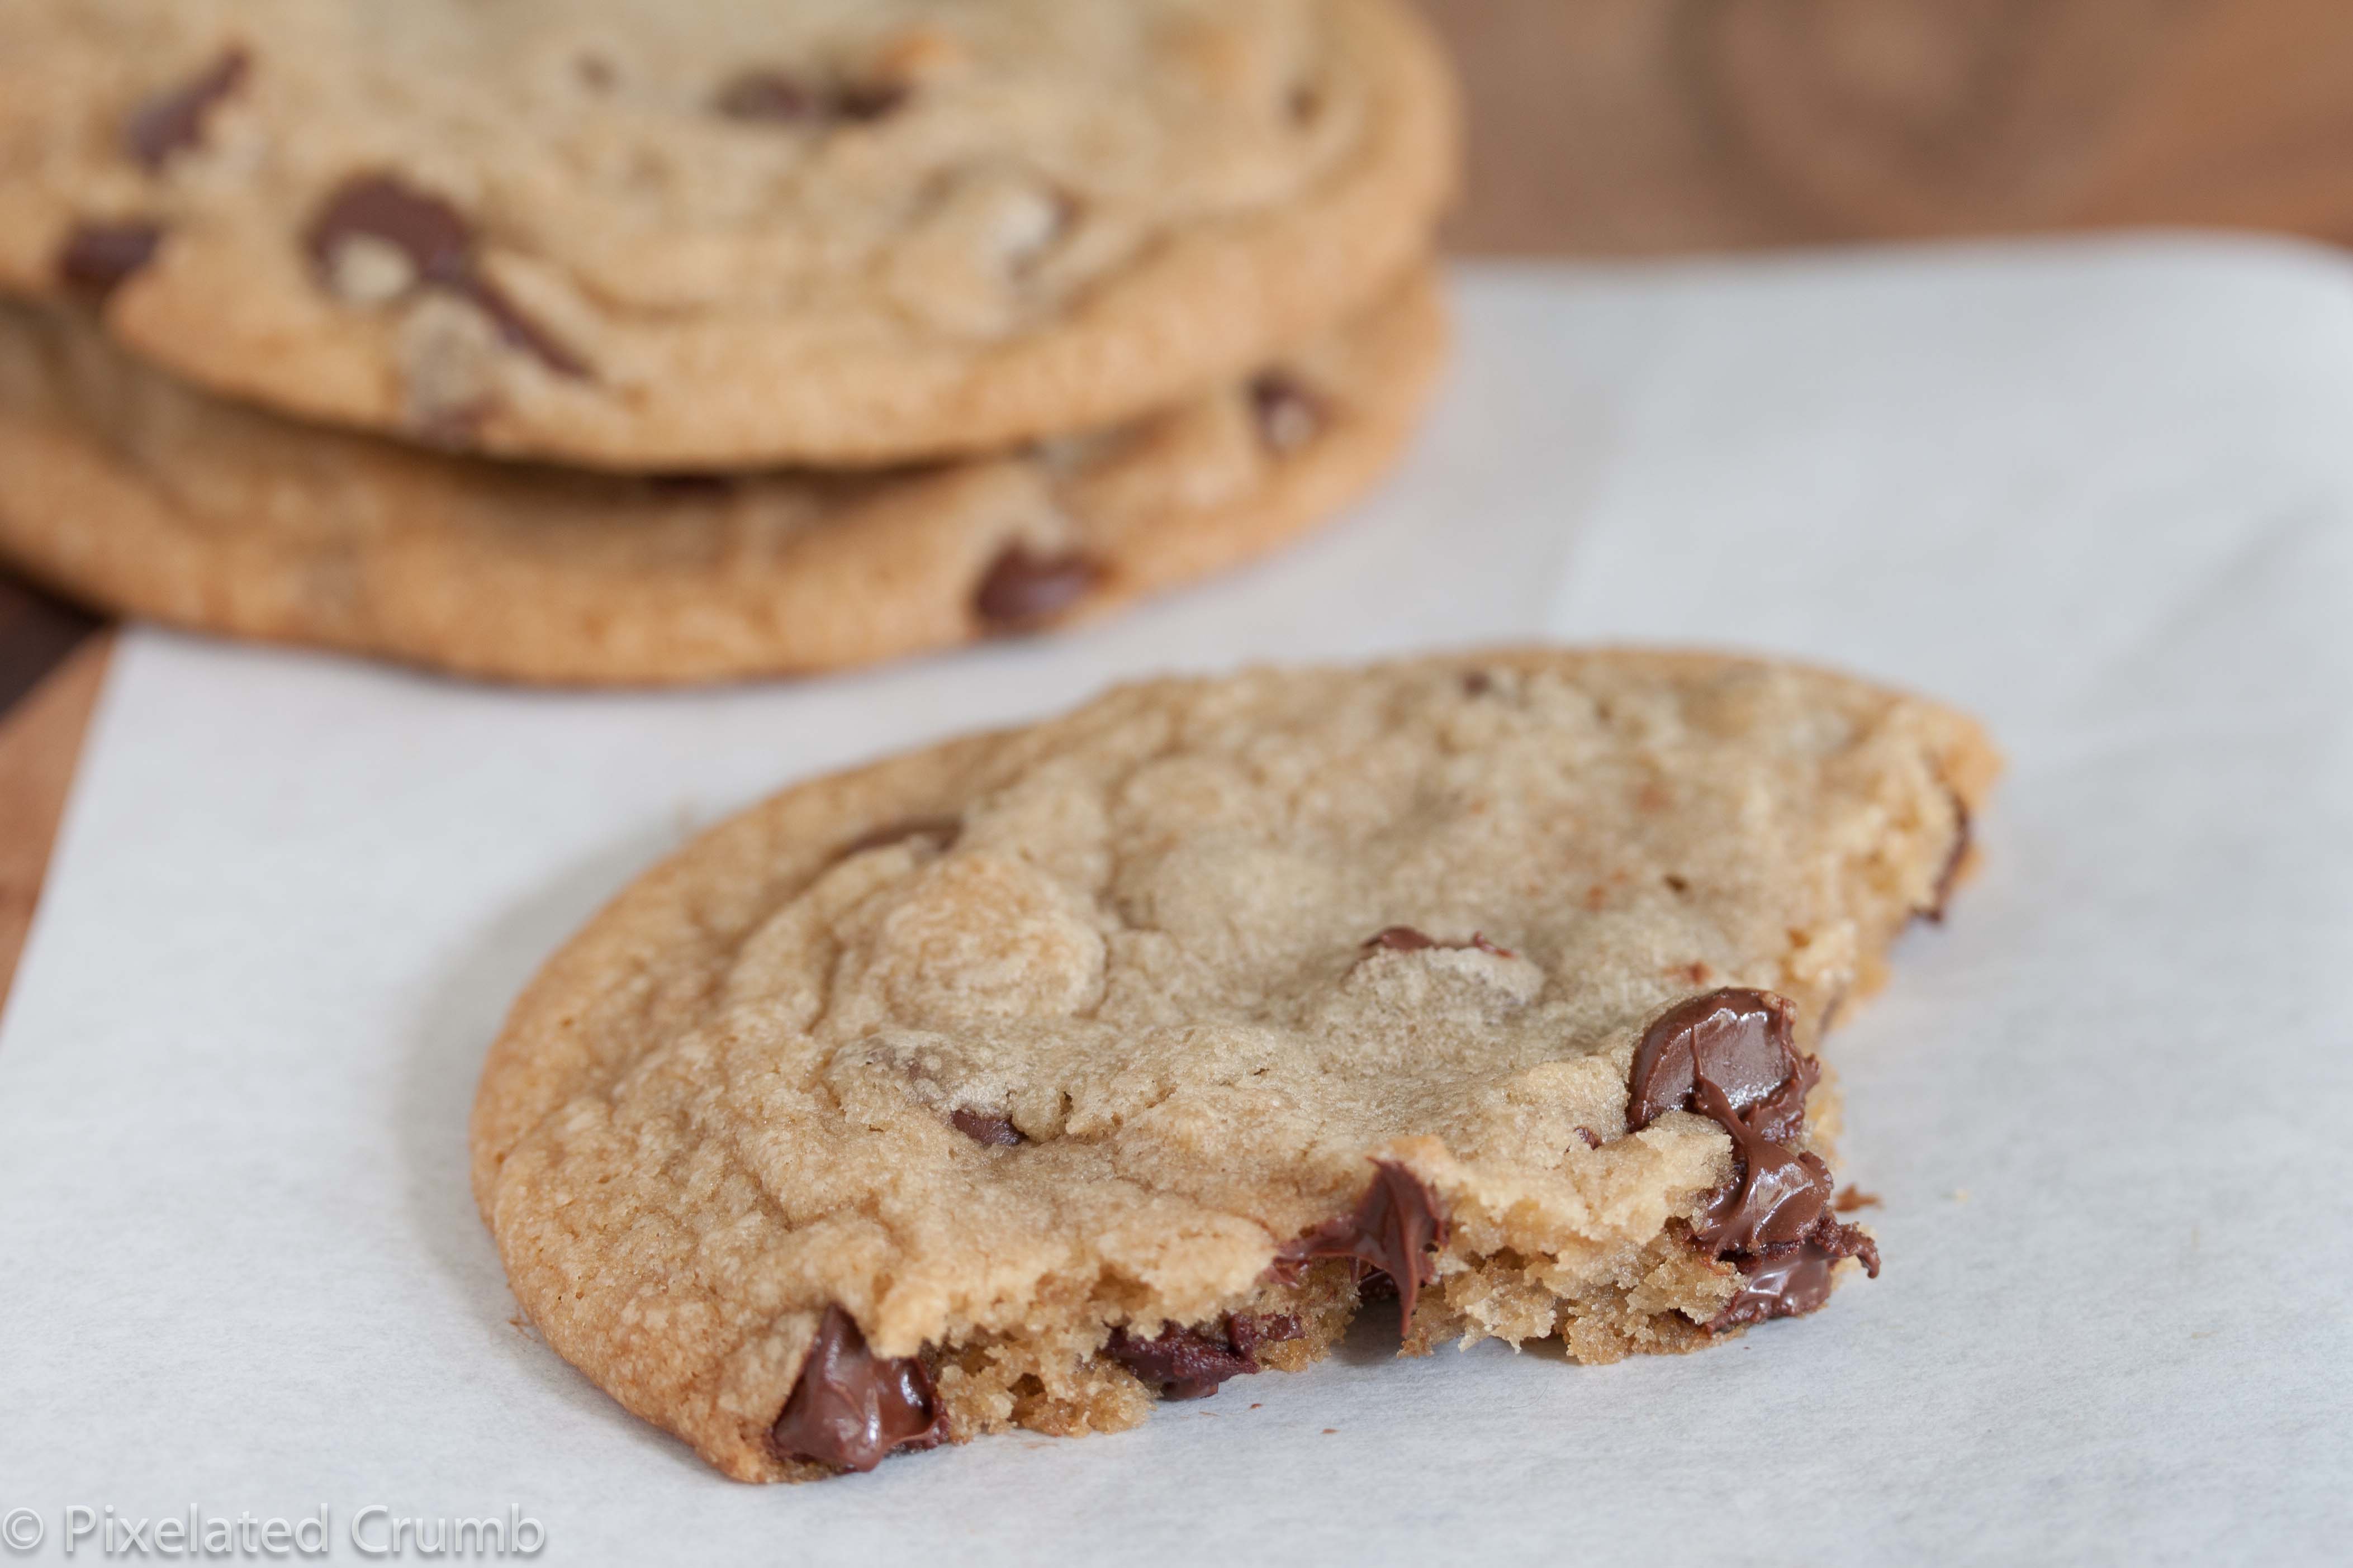
But does the Cook’s Illustrated cookie recipe really stack up in the end? In a word, yes. The Cook’s Illustrated cookies easily beat the Toll House cookies. The browned butter adds a deep richness, giving the cookies an almost butterscotchy flavor. To be honest, I had never thought of the Toll House cookies as being cakey, but after trying the Cook’s Illustrated cookies, well, yeah, they’re definitely cakey. The Cook’s Illustrated cookies, on the other hand, are moist and chewy and perfect in the center while the crunchy edge helps you stay grounded and not completely lose yourself in the buttery, chocolatey middle. What would make these cookies even better? Well, you could always try adding a quick splash of orange juice!
Perfect Chocolate Chip Cookies
From Cook's Illustrated
Make sure to use an non-coated skillet to brown the butter. If you use a coated pan you won't be able to tell when your butter has browned. The butter goes from brown to black pretty quickly (especially if you're trying to take pictures at the same time - the perils of food blogging!) so be careful.
The recipe calls for semi-sweet chocolate chips (or chunks), but I think I would have preferred bittersweet. Go with whichever you generally prefer. You can use light brown sugar, but the dark brown sugar gives it a deeper flavor and you can't argue with that. Either way, make sure the brown sugar is fresh and not dried out or your cookies will be drier.
If you're curious about what tweaks Cook's Illustrated made and how those changes affected the outcome, make sure to check out the original recipe page that shows the full rundown.
Ingredients
- 1 3/4 cups unbleached all-purpose flour (8 3/4 ounces)
- 1/2 teaspoon baking soda
- 14 tablespoons unsalted butter (1 3/4 sticks)
- 1/2 cup granulated sugar (3 1/2 ounces)
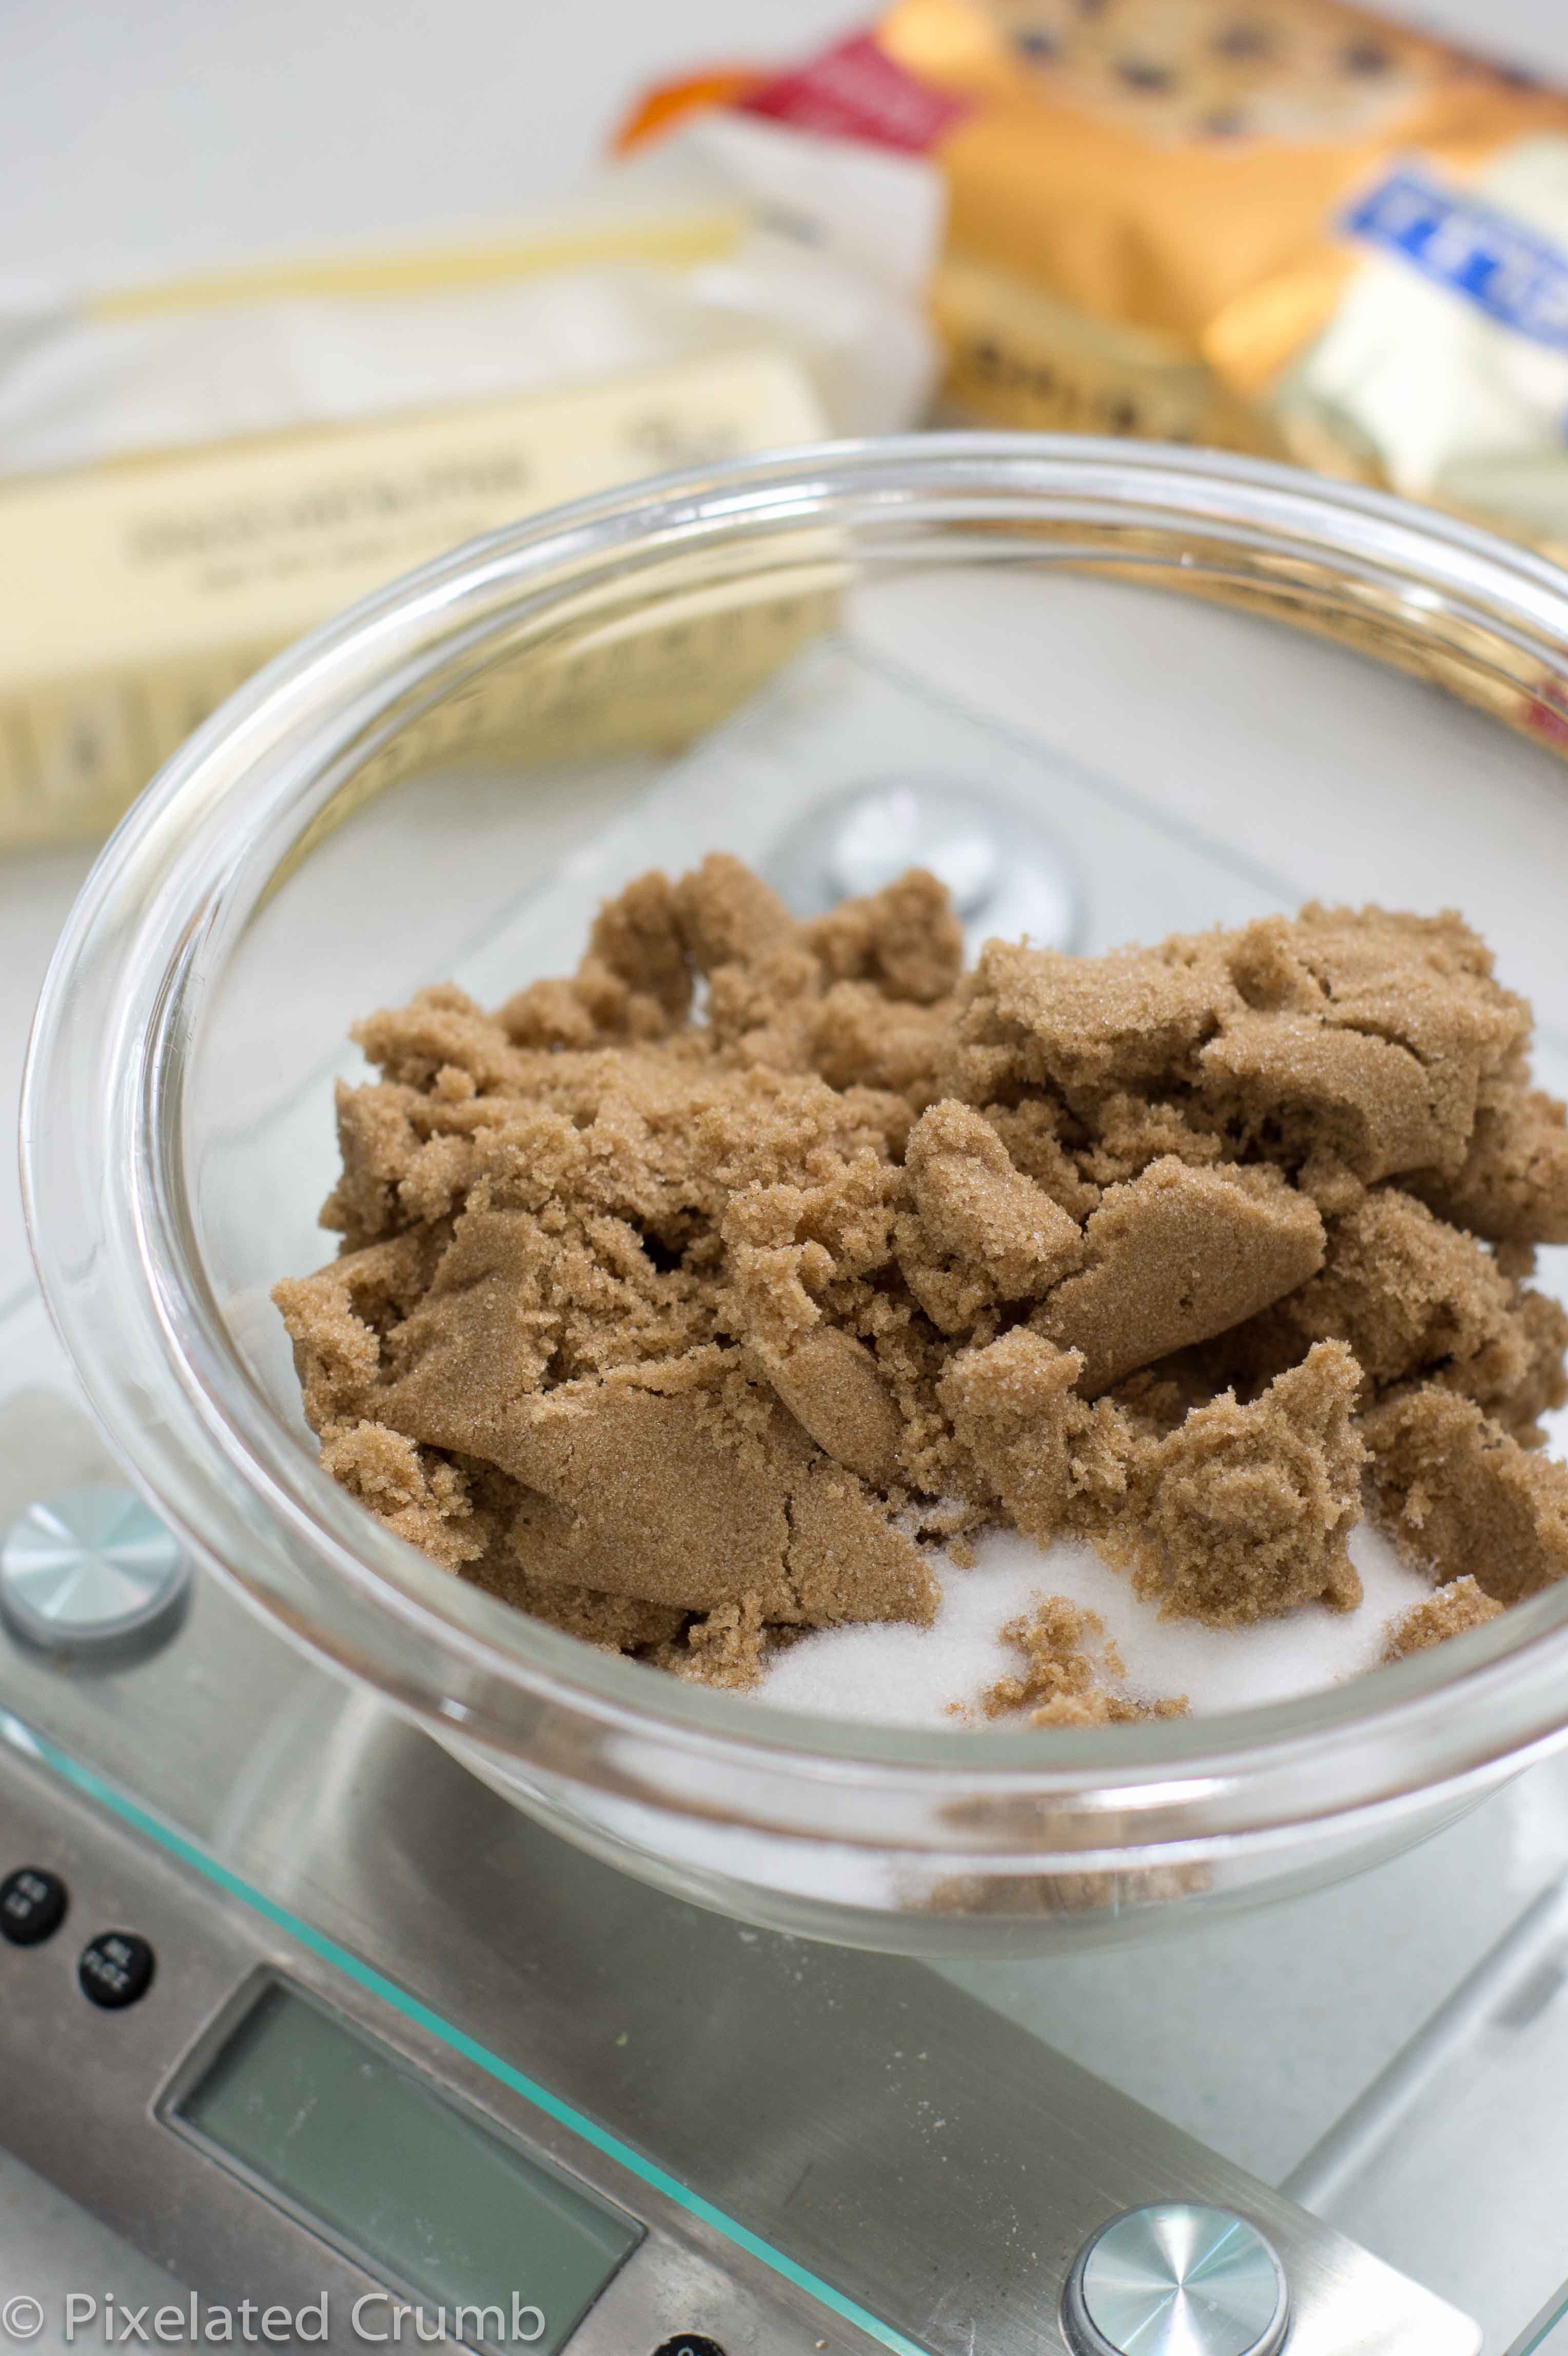
- 3/4 cups packed dark brown sugar (5 1/4 ounces)
- 1 teaspoon table salt
- 2 teaspoons vanilla extract
- 1 large egg
- 1 large egg yolk
- 1 1/4 cups semisweet (or bittersweet) chocolate chips or chunks
- 3/4 cup chopped pecans or walnuts, toasted (optional)
Directions
- Adjust oven rack to middle position and heat oven to 375 degrees F. Line 2 large (18- by 12-inch) baking sheets with parchment paper. Whisk flour and baking soda together in medium bowl; set aside.
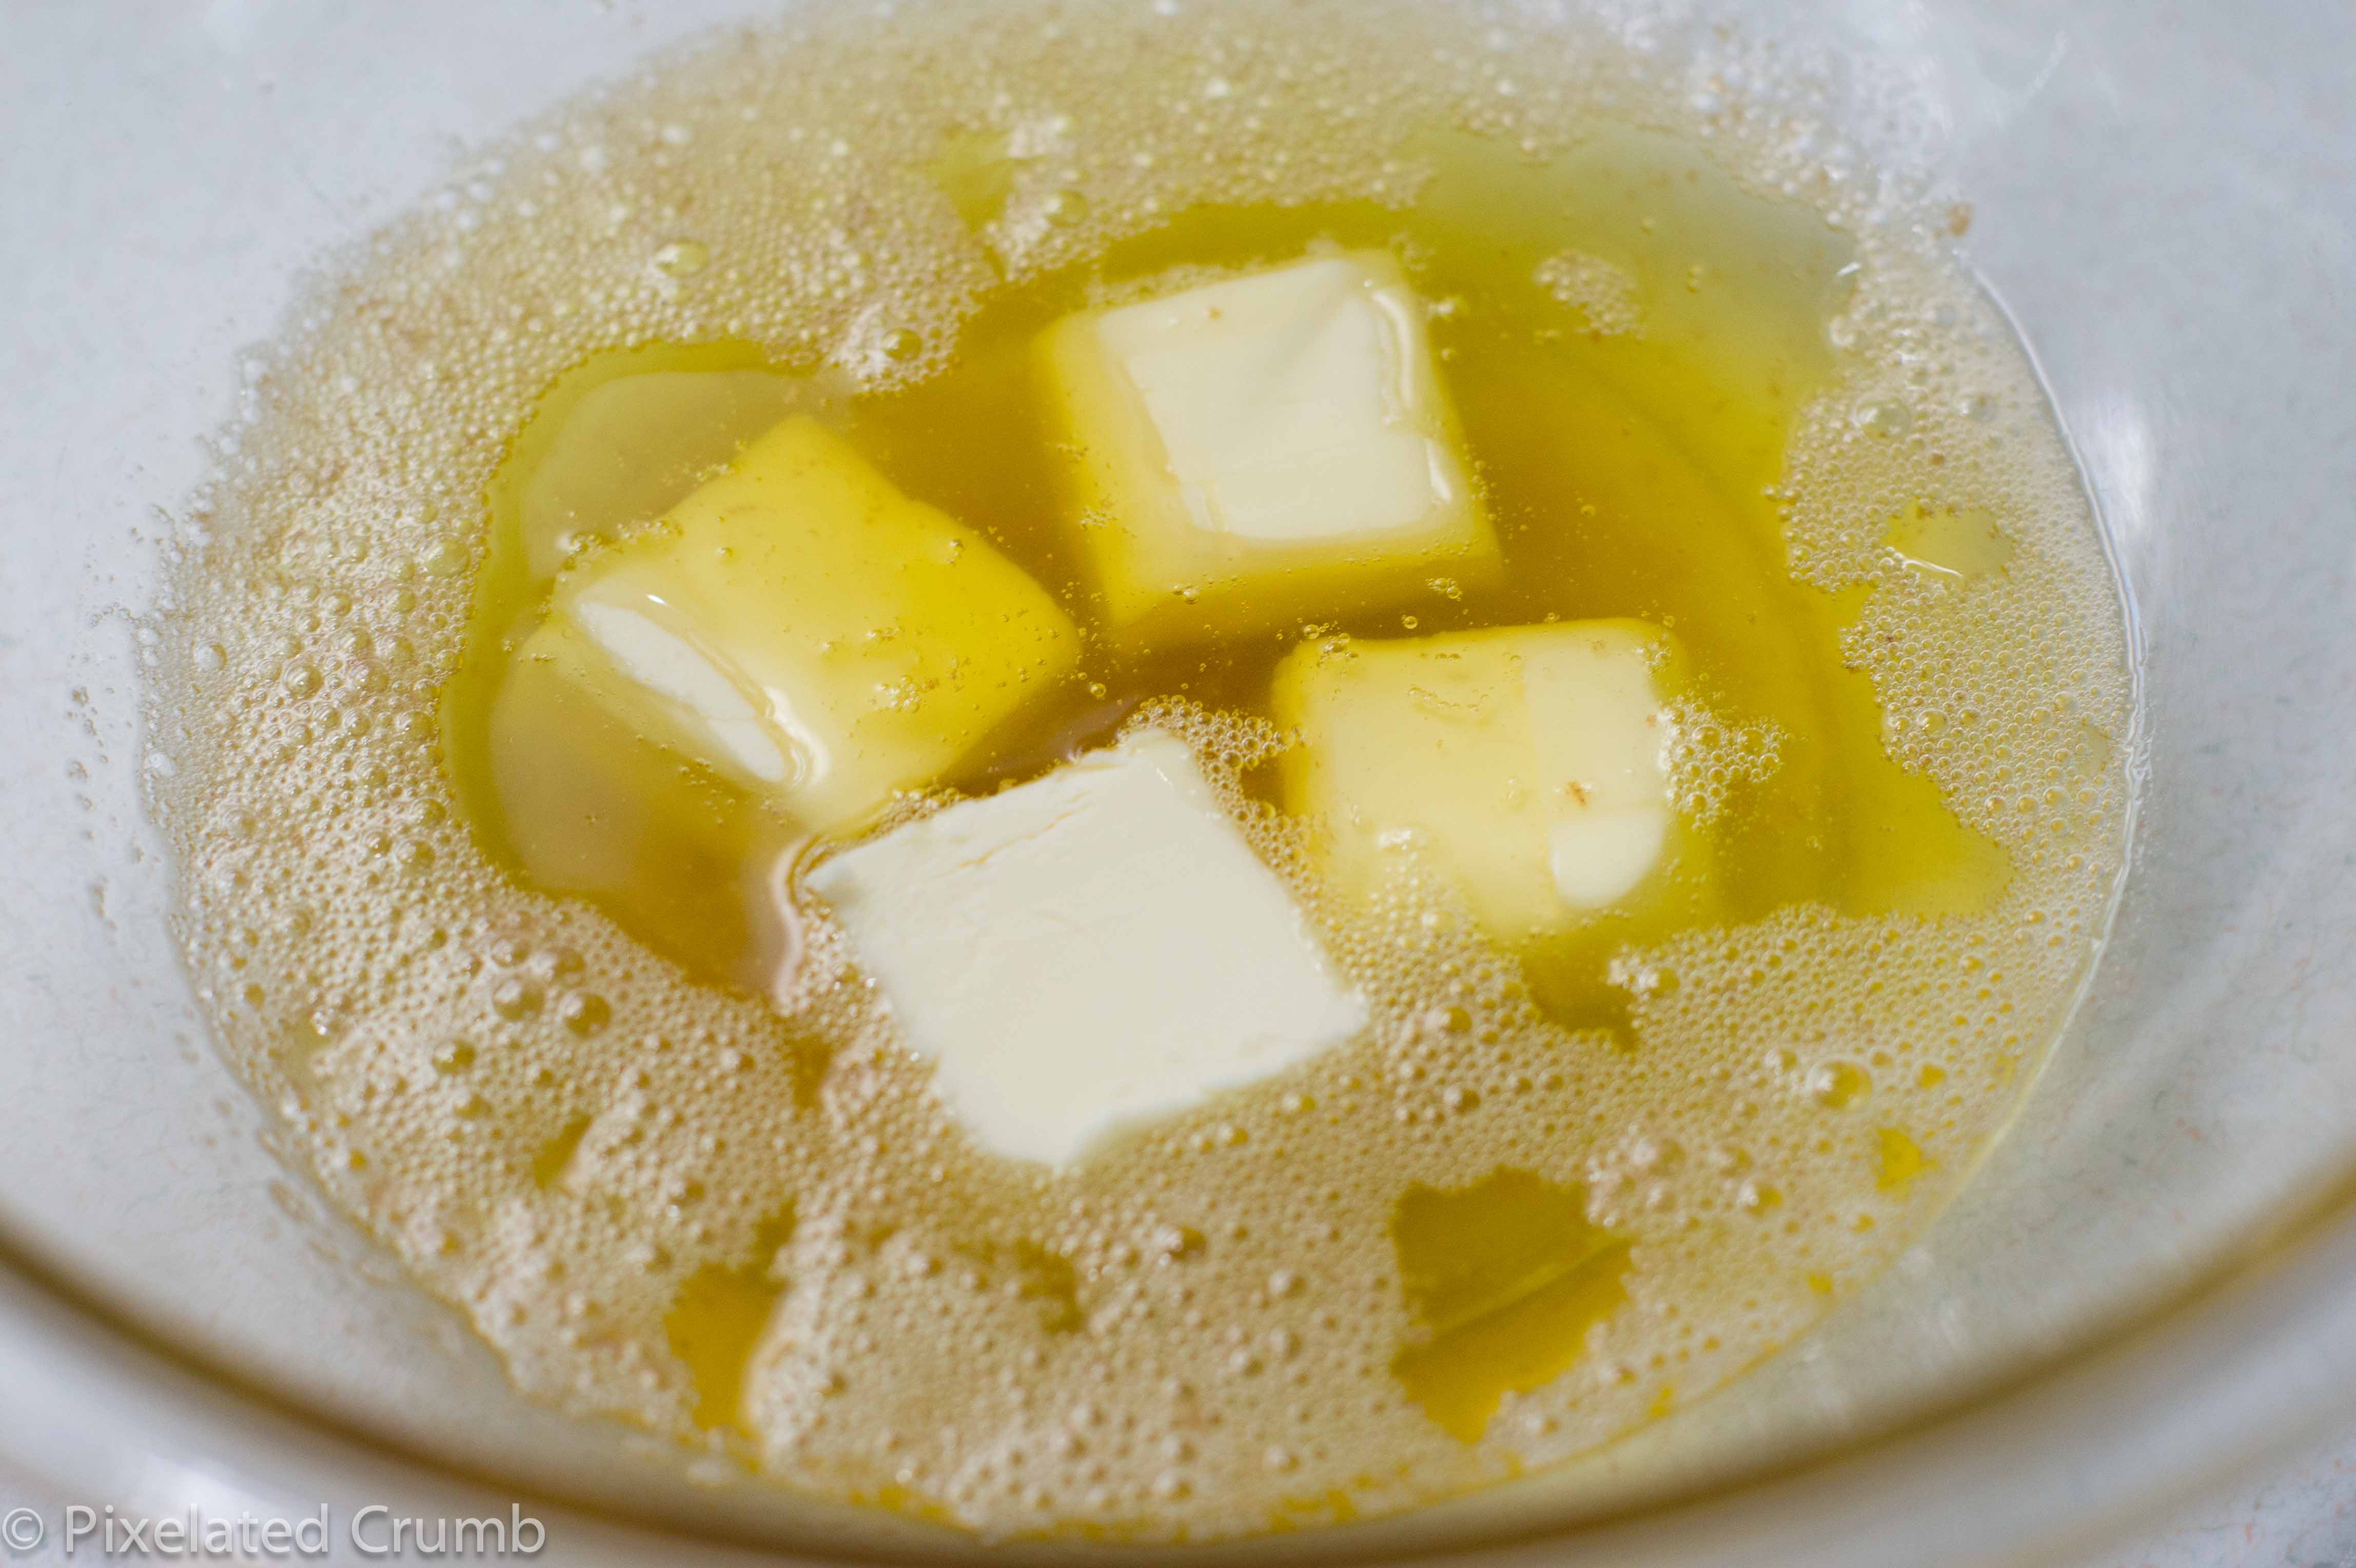
- Heat 10 tablespoons butter in 10-inch skillet over medium-high heat until melted, about 2 minutes. Continue cooking, swirling pan constantly until butter is dark golden brown and has nutty aroma, 1 to 3 minutes. Remove skillet from heat and, using heatproof spatula, transfer browned butter to large heatproof bowl. Stir remaining 4 tablespoons butter into hot butter until completely melted.
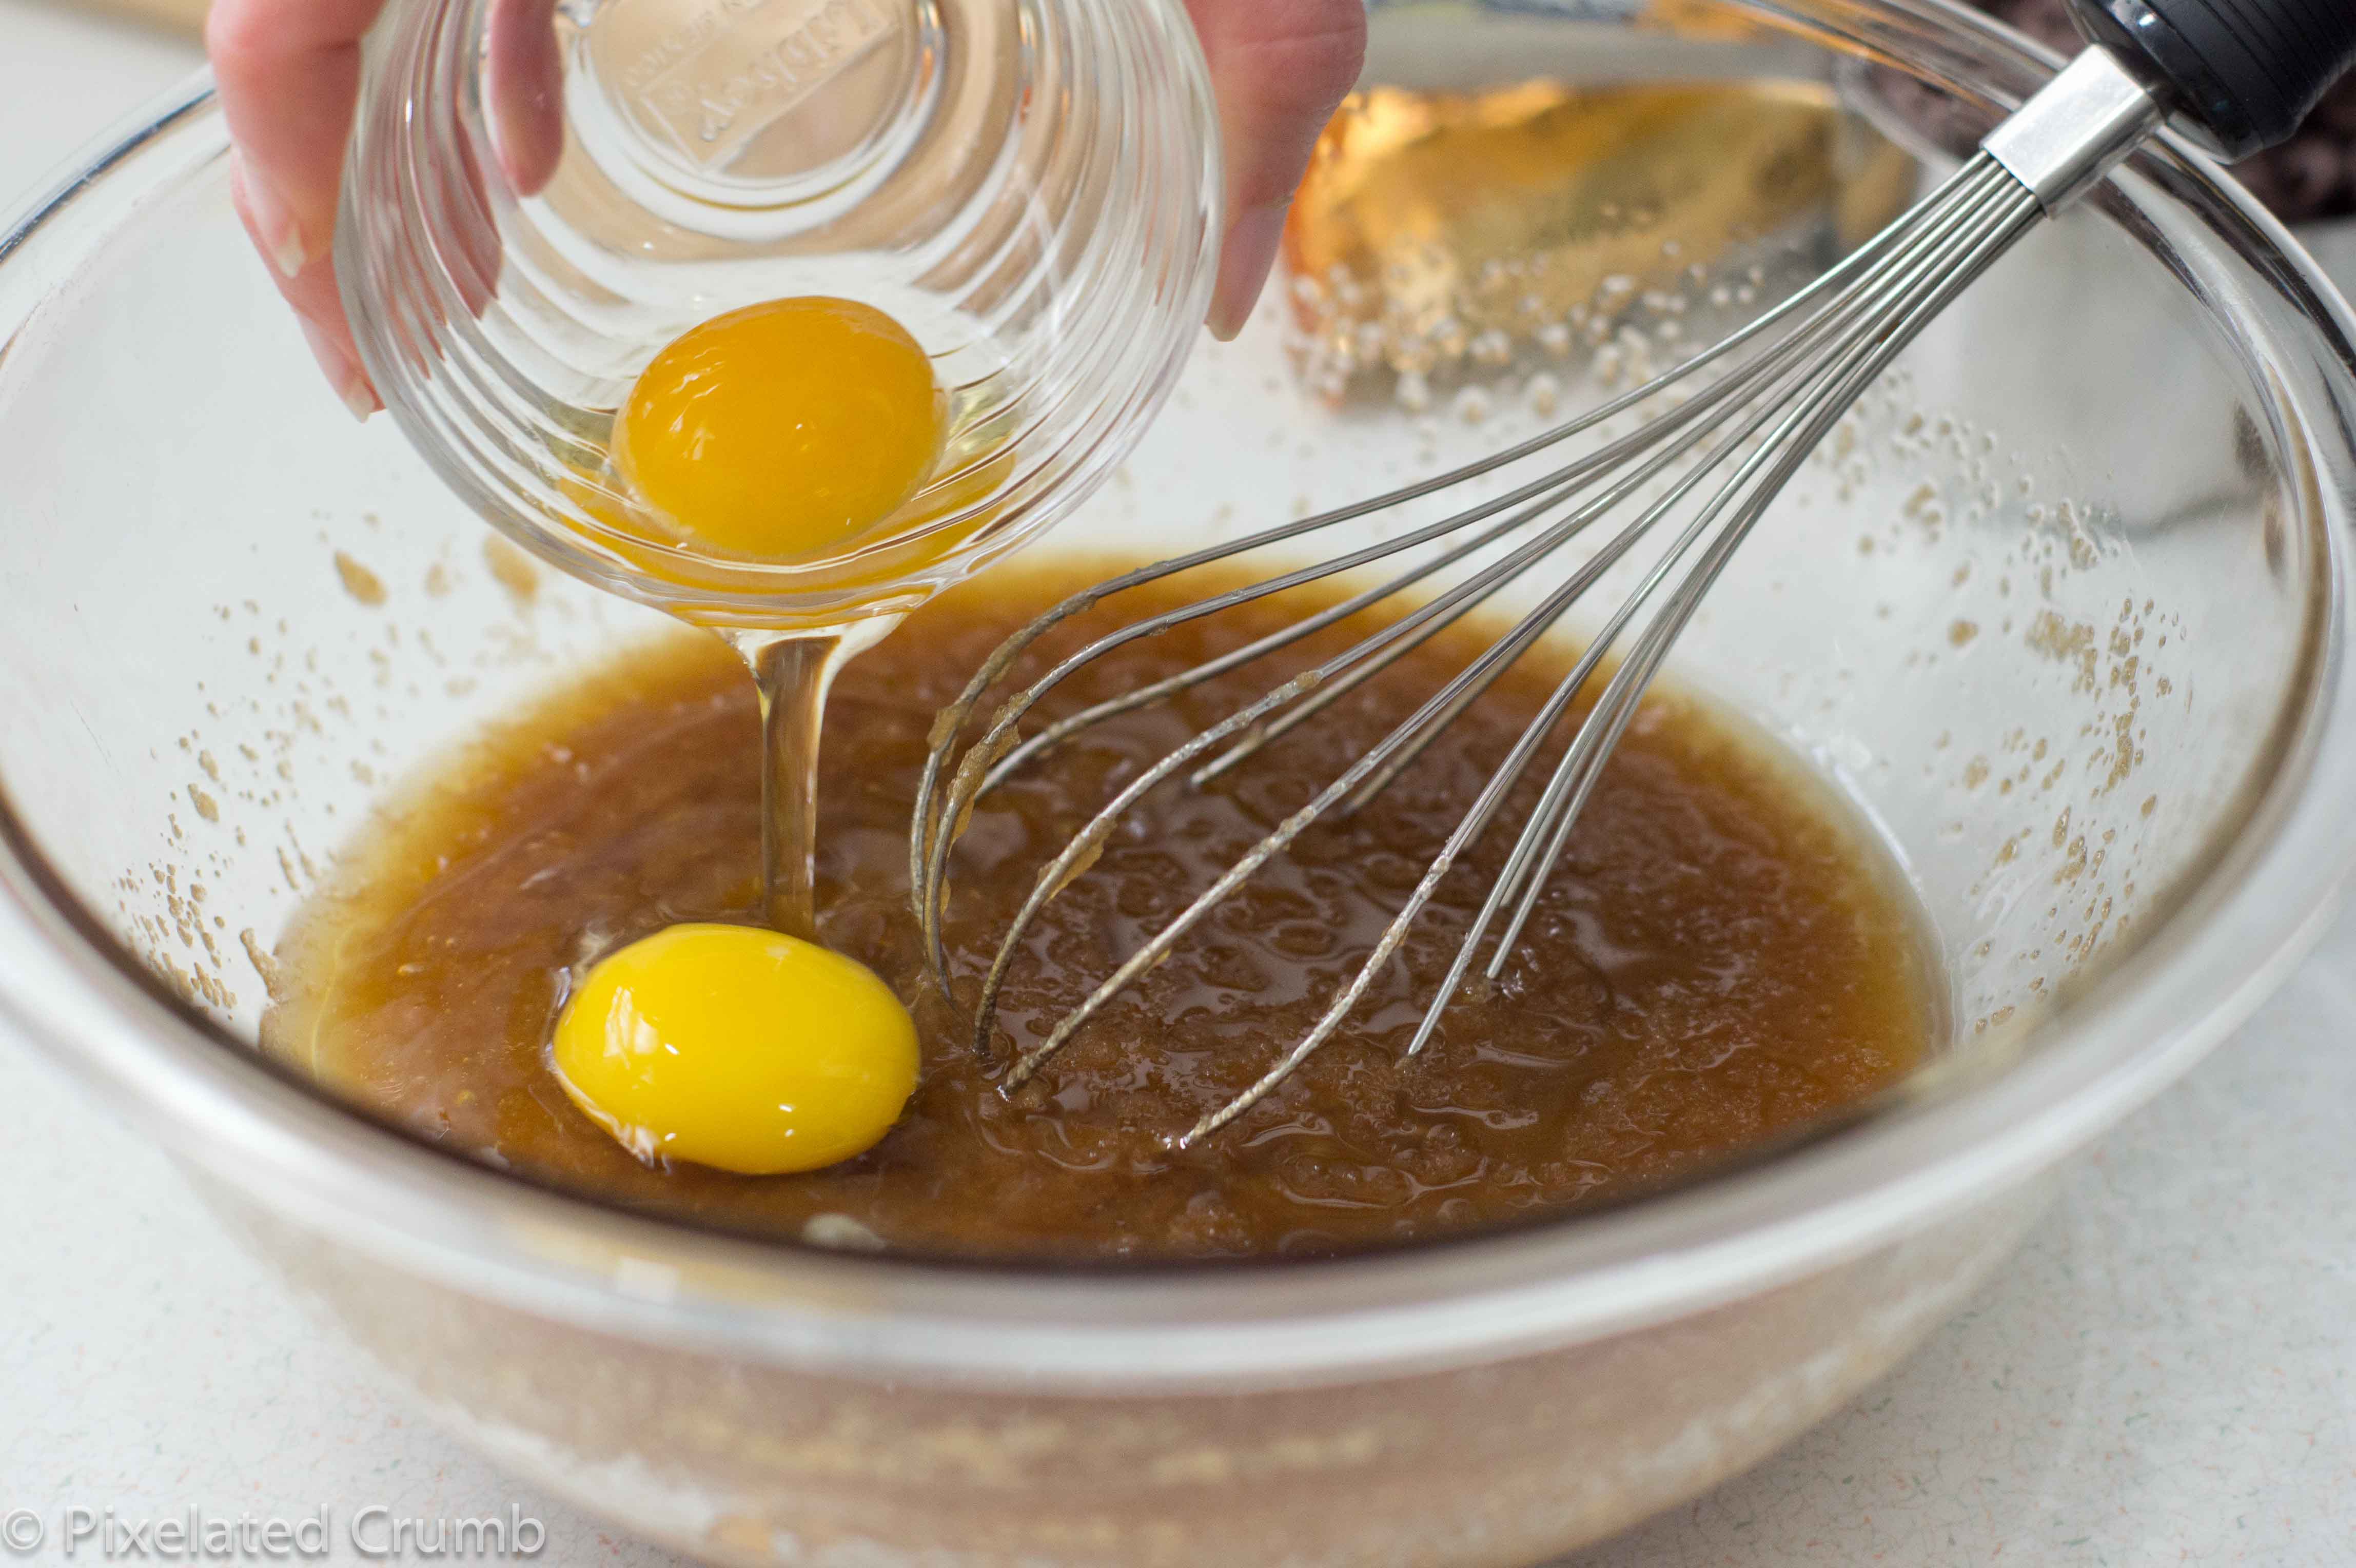
- Add both sugars, salt, and vanilla to bowl with butter and whisk until fully incorporated. Add egg and yolk and whisk until mixture is smooth with no sugar lumps remaining, about 30 seconds. Let mixture stand 3 minutes, then whisk for 30 seconds. Repeat process of resting and whisking 2 more times until mixture is thick, smooth, and shiny. Using rubber spatula or wooden spoon, stir in flour mixture until just combined, about 1 minute. Stir in chocolate chips and nuts (if using), giving dough final stir to ensure no flour pockets remain.
- Divide dough into 16 portions, each about 3 tablespoons (or use #24 cookie scoop). Arrange 2 inches apart on prepared baking sheets, 8 dough balls per sheet. (Smaller baking sheets can be used, but will require 3 batches.)
- Bake cookies 1 tray at a time until cookies are golden brown and still puffy, and edges have begun to set but centers are still soft, 10 to 14 minutes, rotating baking sheet halfway through baking. Transfer baking sheet to wire rack; cool cookies completely before serving.